Here is a complete tutorial on how to screenshot on a gateway laptop. Just some simple steps are involved in it. Gateway is an American computer hardware manufacturing company. Gateway was founded in 1985 and still provides quality hardware to its users. After a successful business since 90, they are now under the supervision of Acer since 2020.
How To Screenshot On Gateway Laptop

1. Screenshot Using Print screen Key
You might have seen the Printscreen or PrtScr key on your laptop’s keyboard. This key has a specific function. Except for being used in the function key, it can take screenshots of your screen. Wondering how, follow these simple steps.
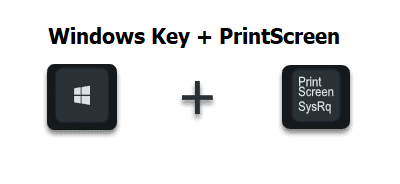
- To take a screenshot of your screen, simply press “Windows key and PrtScr key” at the same time.
- Press the Windows key first and then the Prtscr key. If you press the Prtscr key first, it will not work.
- If your gateway laptop’s screen blinked, it means your screenshot has been captured successfully.
In some Gateway laptops, the Printscreen key is combined with the system_req key. So do not get confused with it. They are the same.
Once you have captures your screenshot, now you have to view it. It will be saved in one of your drives. Let’s explore,
- Open “This PC” on your laptop.
- Click on the picture folder. You can find it on the right side of the folder bar or on the After opening, locate the “Screenshot” folder.
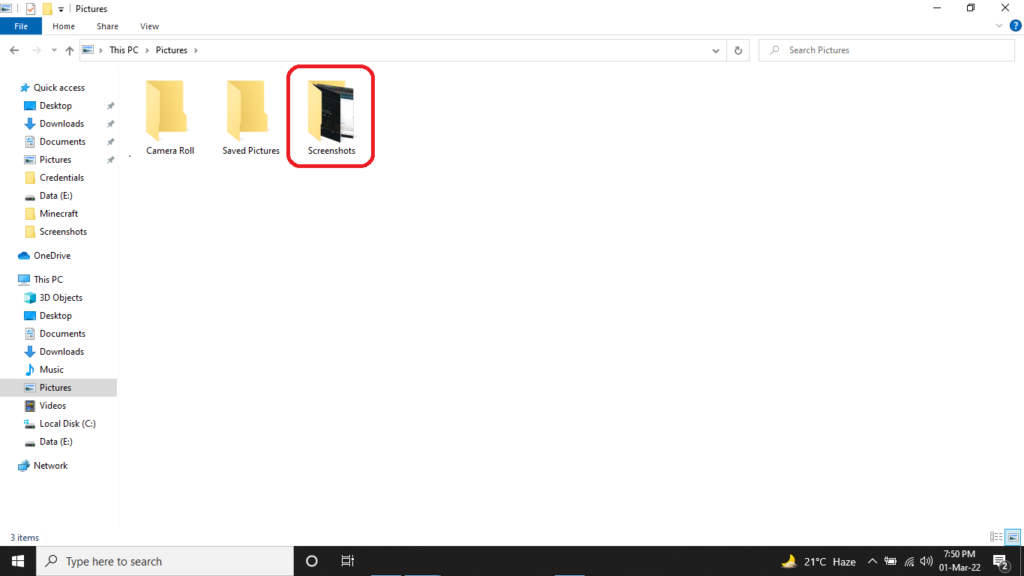
- Open the folder. Here are all your recently captured screenshots. All the screenshots are sorted according to the date and time of capture.
Read Also: How to Screenshot on Acer Laptop? [4 Easy Ways]
2. Capture Screenshot using Paint
Yes, paint could be used to capture and save all your screenshots. It has another advantage that you can change the size and edit your screenshots here too. How you can do it? Here is the key,
- To capture a screenshot, press the “PrtScr” key till your screen blink.
- Now open paint. Search paint in the windows search bar to open.
- You can also make a shortcut of the image file and edit that image file.
- Now press “Ctrl+V” or paste the image. Your screenshot will appear on the plant’s page. Now resize or edit it.
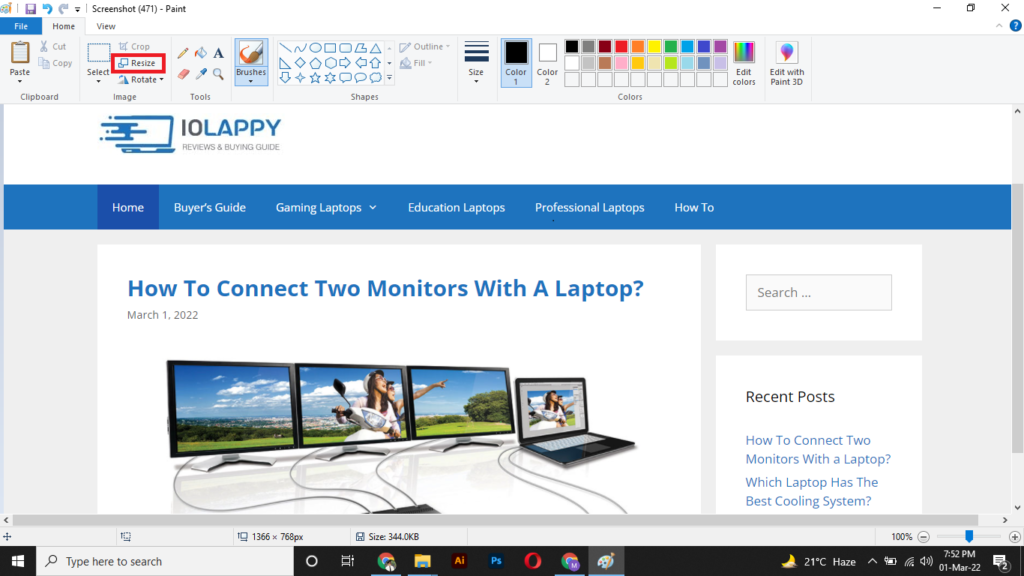
- Right-click on your screenshot and open the file.
- Click edit to open the image in paint.
- Now click on resize to change the image size.
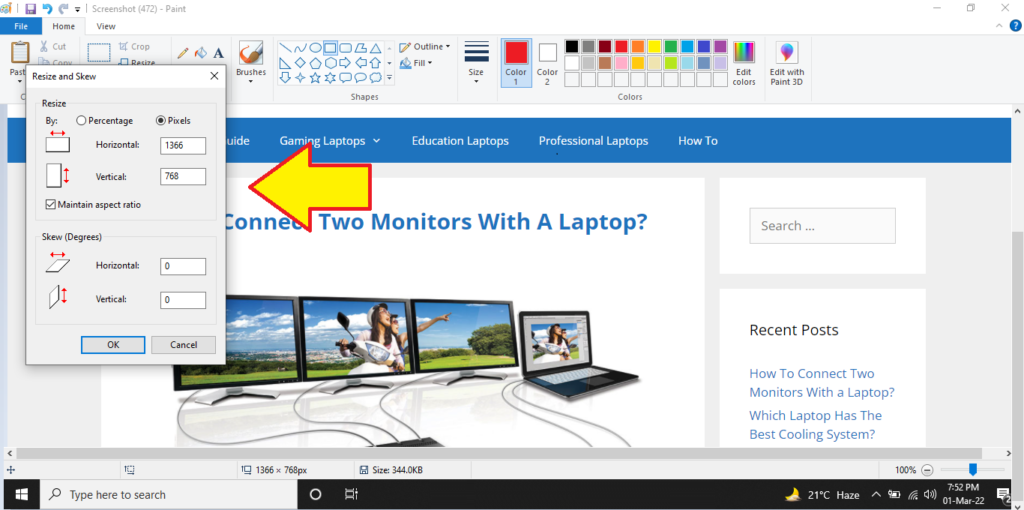
- Here you can change the size according to percentage or pixels easily.
How To Screenshot On Gateway Laptop in Windows 10
The latest gateway models come with the windows 10 operating system. There are some new 2022 models like GWTN156-7 that have the ability to run Windows 11. First, we are going to see different methods in Windows 10.
1. Using The Snip & Sketch Tool
In windows 10, the snip and sketch tool is a pre-installed application. It is mainly used to capture screenshots or specific areas of your screen. Very simple and easy-to-use application.
- To open the application, click on the windows search bar and write “Snip & Sketch”. Click to open the application with the scissor icon.
- Here is a shortcut key “Windows key + Shift + S” to directly open the Snip & Sketch tool.

- Now click on the “New” button to create a new image file.

- A blurry background screen will appear.
- Select the area you want to take a screenshot of with the help of the mouse cursor.
- Carefully select the area, once you will release the button it will capture the selected area.
- Now you have the option to edit your screenshot here.
- It provides simple editing like using a brush, a ruler to measure, erase, touch writing, crop, etc.
2. Using Snipping Tool
The snipping tool is one of the best and fastest screenshot tools in your gateway laptop with windows 10. It is another pre-installed application in windows. The procedure is quite simple like the snip and sketch tool.
- Click on the windows search bar and search “Snipping tool”.
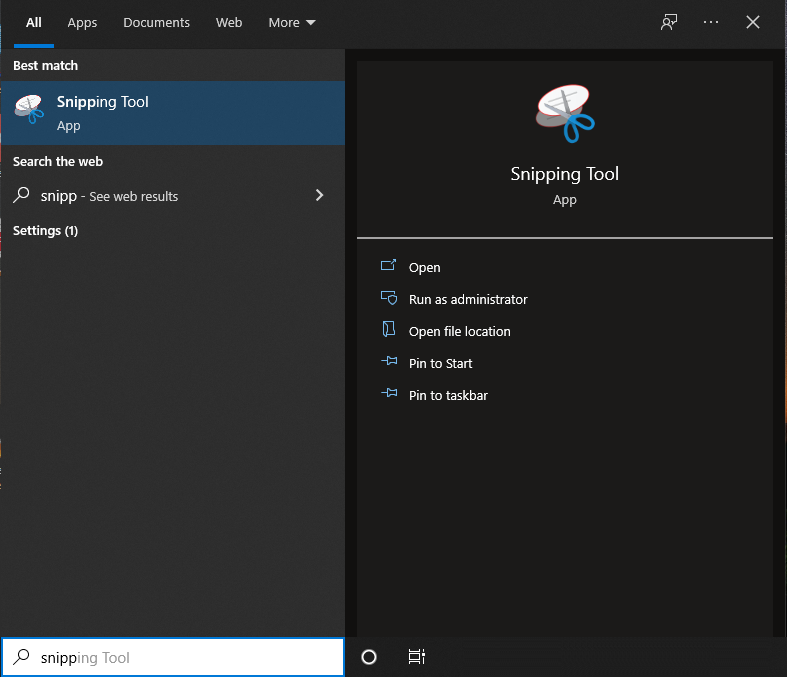
- Open the application with a scissor icon.
- Click the “New” from the top toolbar.
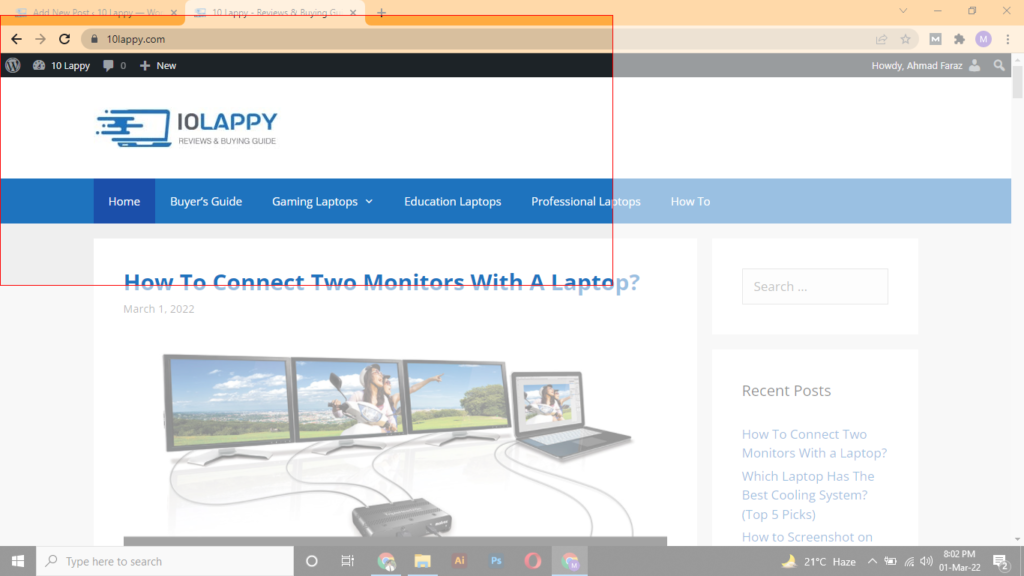
- Select the specific area or whole screen of your blurry background.
- Note that once you will release the mouse button, it will capture the screenshot of that area. So select carefully.
- Click save to save your screenshot in the required folder.
- Here you can also edit your screenshots prior to saving them.
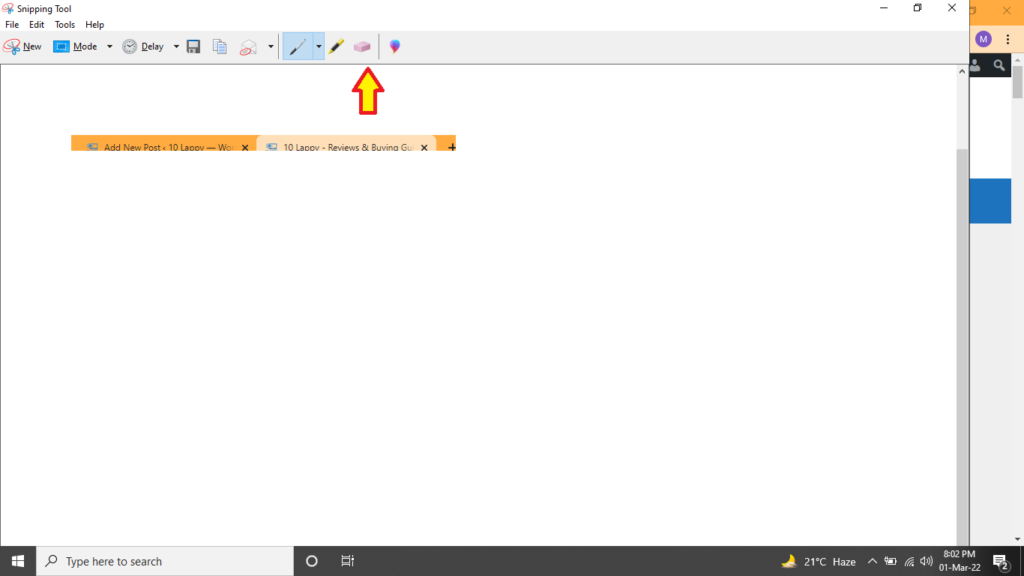
- Also, you can select a rectangular area or width-wise based on the angles. To do this, click on the “Mode” and select the screen capturing size.
Check out these best laptops for girls & women
3. Using Xbox Game Bar
Xbox game bar allows the user to live stream, make videos, and capture screenshots. The Xbox game bar is used for the commands to your Xbox connected to a PC or laptop. It has a simple and user-friendly interface.
- To the Xbox gaming bar, press “Windows key + Alt + G” at the same time.
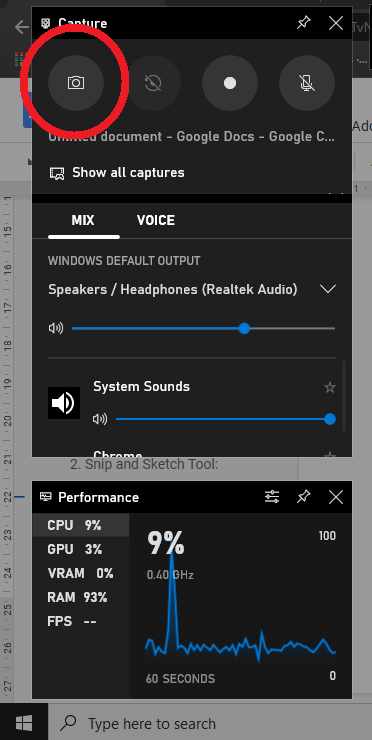
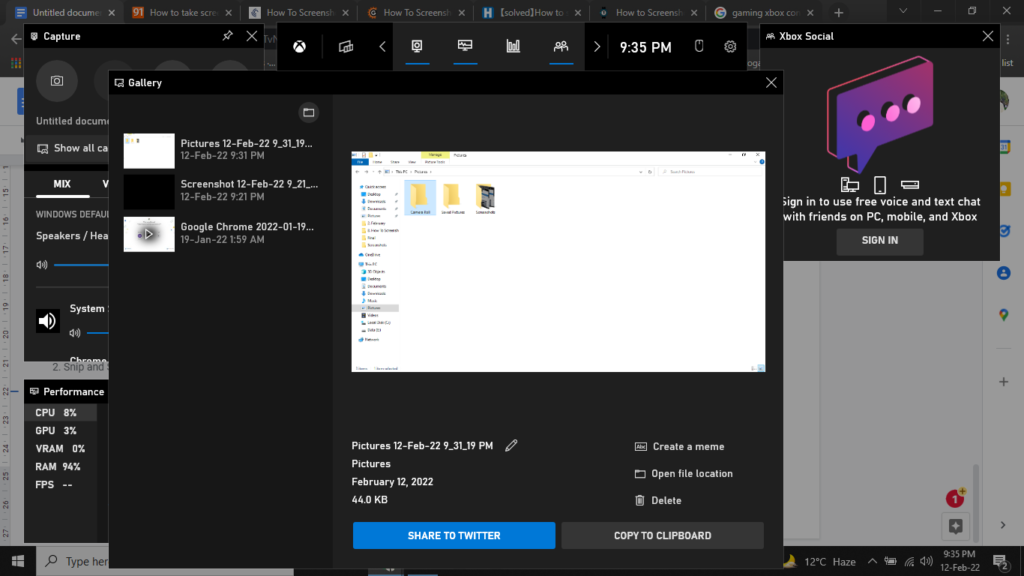
- Wait a few seconds. A complete gaming bar with capture, audio, video, performance settings will appear on your screen.
- Go to the capture box and click on the camera icon.
- It will capture the whole screenshot of the background automatically.
- The shortcut key is to press “Windows key + Alt + PrtScr key” at the same time.
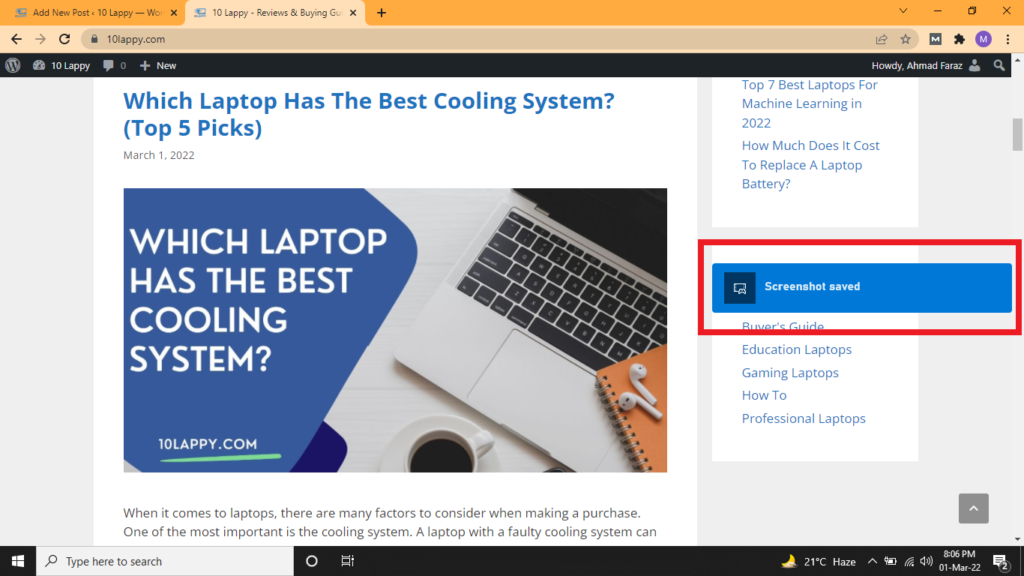
- After pressing, a popup will appear saying “Screenshot Saved”. Click the popup to browse the location of the screenshot.
- Your screenshot is usually saved in the “Capture folder”.
- Open “This Pc”. Go to the “Videos” folder.
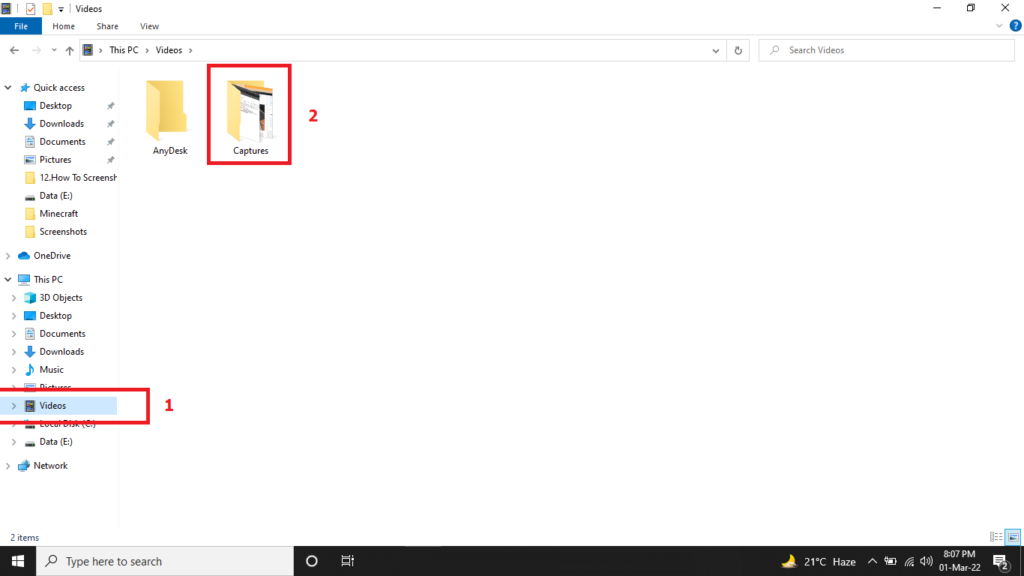
- Here you can find a folder named “captures”. All your captured screenshots are in this folder.
4. Using Software Applications
There are many software applications that you can use to capture screenshots with only one key. These applications allow you to customize your screenshot button. Most of this software is used for game capture. Let’s talk about some of the best screen capturing applications used for screenshots.
Snagit Application:
Snagit gives you free access to the screenshot tool. It has a simple and user-friendly interface.
- Download and install the Snagit from the given link “Snagit”.
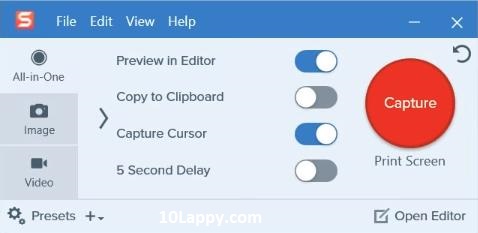
- Now click on the “S” icon from the menu bar to access the capture windows.
- Click the capture button to capture the screenshot.
Read Also: How to screenshot on Samsung Laptop? [3 Methods]
OBS Studio:
Streaming and broadcasting software are known as Open Broadcaster Software (OBS). The software allows for simultaneous recording and streaming. It also gives you the access to capture screenshots in no time.
- Download and install the OBS application on your Gateway laptop from the given link (OBS Studio).
- Click on the “Output folder to set the output folder where all your captured screenshots will be saved.
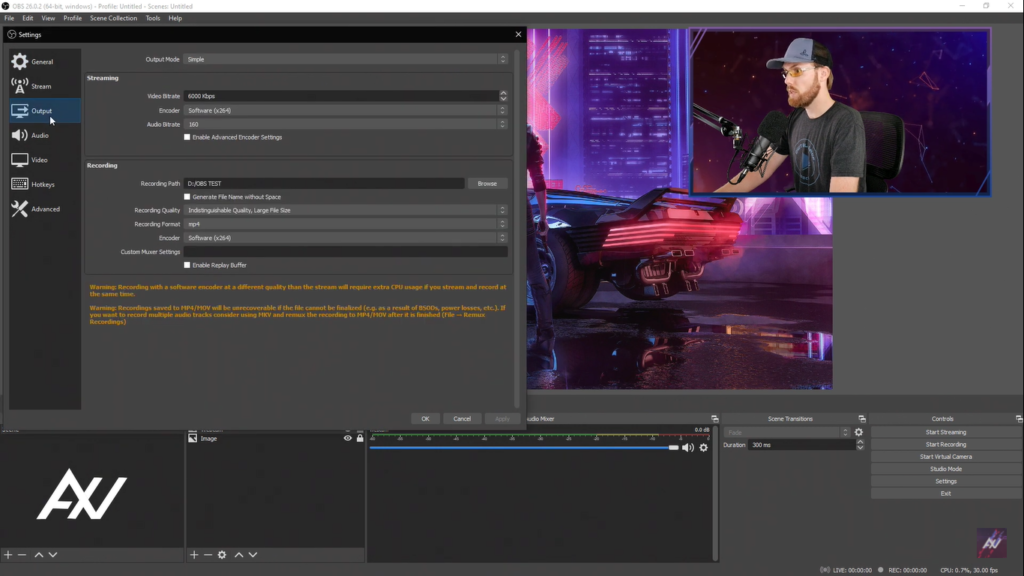
- Press save after selecting the folder.
- Now to take screenshots click on the “Scene” to open a file.

- Click on “Screenshot scene” at it will take the screenshot. All your screenshots will be saved to the located folder.
- You can open your source file by right-clicking on the “source” in the source panel.
- Now click “Capture scene”. It will send a screenshot to a specified folder after taking a screenshot.
Lightshot:
Lightshot is another amazing application to capture the screenshots on your Gateway laptop. You just need to download install and follow these simple steps.
- Download the LightShot from the given link (LightShot). Install it on your laptop and open it.
- When you will open the application. It will show an icon in the right lower corner of the list of startup applications.
- Just click on the icon, it will ask you to select the specific region. Select the region and save the screenshot.
FAQs
Is there any specific key to take screenshots on Gateway laptops?
There is no specific key to take screenshots on gateway laptops. Like all other laptops, it has Printscreen “PrtScr” key to do this task. You can use these methods that we have discussed in the blog to capture quick screenshots. Press the “Windows + PrtScr” key as a shortcut key for capturing screenshots.
Is there any application to take screenshots on gateway laptops?
You can use pre-installed snapping too and the snip & sketch tool in windows 10 to capture screenshots. These are easy-to-use tools. As we have discussed step-by-step guide in this blog post.
What are to top screenshot capturing applications for gateway laptops?
You can use different applications for screen capturing and screenshots on your gateway laptop. The best and top applications are Snagit, OBS, Lightshot, ShareX, Greenshot, etc.
What are the free best screenshot applications?
There are many free and best screenshot applications that you can download and use. They also have a user-friendly interface. OBS Studio, Screenrec, Greenshot, PicPick, and Awesome Screenshot.
Conclusion
Taking screenshots on a Gateway laptop is no different from any other common laptop. As gateway is also a laptop with a windows operating system. You can capture screenshots using windows pre-installed applications like snipping tools, snip & sketch, Xbox gaming bar, etc. There are some free-to-use applications on the internet too.